If a crochet piece is growing at the edges, curling into a bowl or looking different from the pattern photo, pause before changing the hook or pulling everything out. Check the stitch count, the pattern notes and the materials first. The same visible problem can have more than one cause.
This guide brings together common crochet mistakes identified in our crochet research and explains what to check next. It is a researched reference, not a record of 34 projects we have personally tested. The original pattern’s construction notes and corrections remain your first reference.
Find your starting point
| What you notice | Check these sections first |
|---|---|
| Work getting wider or narrower | 1, 2 and 24: counts, row edges and the foundation |
| Finished size does not match | 6, 7 and 34: gauge, materials and starting width |
| Stuffing visible or shape uneven | 11–13 and 27: fabric, stuffing and shaping |
| Instructions seem inconsistent | 16–19: terms, corrections and pattern information |
| Ends or joins look insecure | 20–22: weaving, finishing and seams |
| A circle or square will not lie flat | 25 and 30: pattern counts and construction |
Stitches, counting and edges
1. Your piece keeps getting wider or narrower
Compare the current stitch count with the pattern, then find the first row where they diverged. Extra stitches and missing stitches are different problems: a decrease removes a stitch, so it cannot correct a shortage. Pulling back to the error may preserve the intended structure better than compensating later. Use a deliberate adjustment only when you understand its effect on the design. See Lion Brand’s increase and decrease guide.
2. You are unsure whether the turning chain counts
Check the notes for the current pattern and stitch. If a starting chain counts, working an extra stitch in the wrong place can change the count. If it does not count, treating it as a working stitch can also cause problems. Mark the intended first and last stitch and follow the designer’s edge instructions rather than applying one rule to every project.
3. You work into one loop without intending to
Look at the top of the previous row’s stitches and compare your insertion point with the instructions. FLO and BLO deliberately change which loop is used. If the pattern does not request them, check its stitch instructions before continuing. A ridge can be part of a design; it is a mistake only when it conflicts with the intended fabric.
4. Your tension changes during the project
If the count is correct but the fabric changes width or texture, compare the hook, yarn and the way you are holding them with your earlier work. Make a small sample before changing several variables at once. Note which change you try, then compare the result. Trying to grip harder is not a reliable way to reproduce a previous fabric.
5. You lose the start of a round
First identify whether the pattern uses a spiral or joined rounds. Mark the round boundary consistently and move the marker according to the instructions. Keep a separate round tally if the marker alone does not tell you which round you have completed. Avoid adding a join simply to create a visible boundary when the pattern calls for a spiral.
For help interpreting edges, counts and construction notes, use the Craft Yarn Council pattern-reading reference.
Yarn, hooks and gauge

6. You skip the gauge check
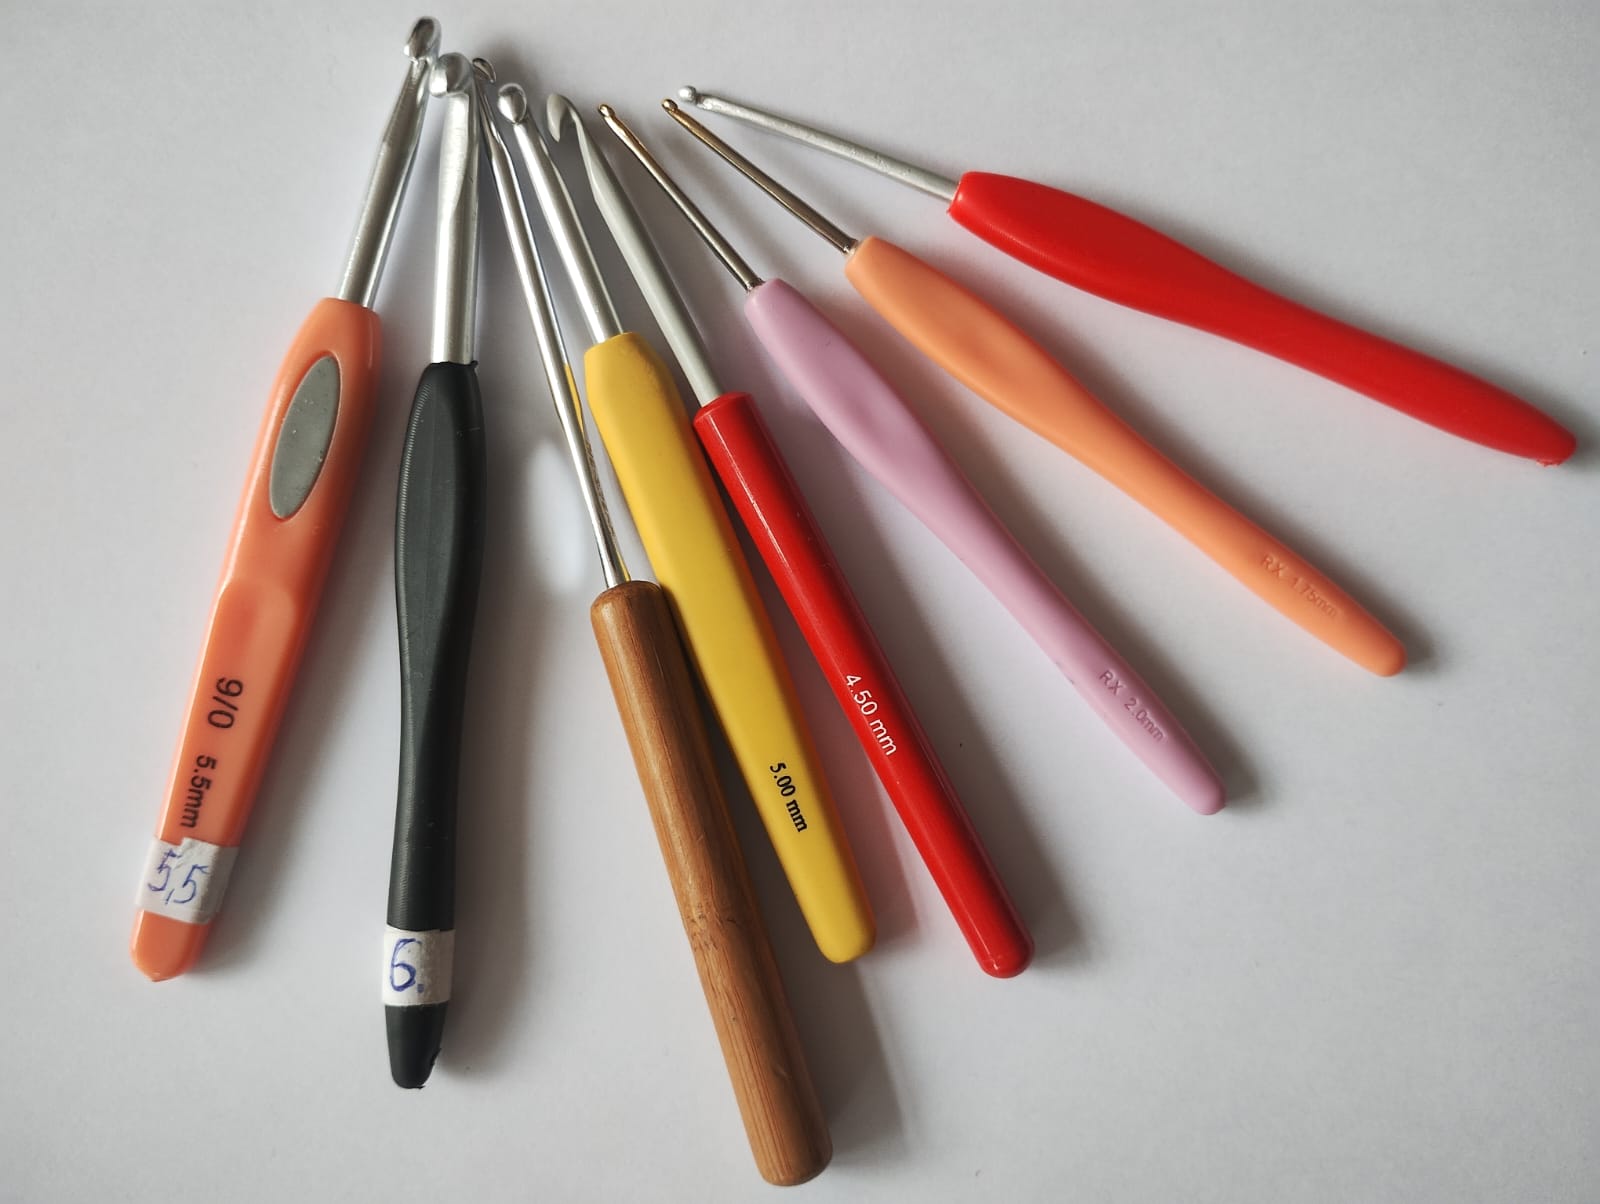
For a pattern with a stated gauge, make the specified swatch using the intended stitch and materials. Measure as directed, including any specified treatment. Matching a suggested hook size is not the same as matching gauge. The CYC crochet gauge guide explains the relationship between stitch density and hook adjustments.
7. You treat the yarn label’s hook size as the project instruction
A label recommendation is not a replacement for the pattern’s materials and gauge. A stuffed charm and a draping scarf can require different fabrics. Start with the chosen pattern, then assess the sample. Record the hook in millimetres and the exact yarn so you can repeat the combination.
8. You choose a fibre without considering use and care
Check how the finished item will be used and washed. Read both the pattern and yarn care label before substituting. Avoid assuming every yarn in the same weight category behaves identically. If you are uncertain, contact the yarn maker or designer and describe the intended use.
9. You learn on yarn that hides the stitches
If counting and finding the insertion point are the difficult parts, try a smooth, light-coloured practice yarn before deciding that you cannot do the technique. Save the more textured version until you can identify the structure. This is a learning choice, not a rule that every project must use plain yarn.
10. You run out of the matching yarn
Compare the pattern’s yardage with the amount in each ball, allowing for your size choice and any changes. Check dye-lot information when matching colour matters. Decide on a sensible allowance for the project instead of automatically buying one extra skein regardless of its size. Keep the labels with your project notes.
The Yarnspirations beginner resource explains yarn labels and substitution considerations.
Amigurumi and small stuffed projects
11. Stuffing shows through the stitches
Check whether the gaps are in the fabric generally or concentrated around decreases and joins. Compare your yarn and hook with the pattern. Test a denser sample if appropriate, but do not assume that going down a fixed number of hook sizes will solve every case. Overfilling can also make an otherwise suitable fabric look stretched.
12. The stuffing changes the intended shape
Read the pattern’s stuffing and shaping notes before closing the piece. Add material gradually and assess the outline from more than one angle. A neck, a flat body and a rounded head may need different treatment. Firmness is not a universal target; follow what the particular design requires.
13. You close the piece before checking the intended side
Check the designer’s photographs and right-side instructions while you can still turn the piece. Some designs intentionally display a particular texture, so do not label one appearance wrong without checking the pattern. If the intended side is unclear, ask before attaching the remaining parts.
14. You assume a decorative charm is suitable for a baby
Small attachments, hardware and construction require careful consideration. A component called a safety eye is not a guarantee that a finished handmade object is suitable for a young child. Do not promise that substituting another face detail makes the whole item safe. Consult the CPSC toy safety information and applicable requirements for the intended item and age group.
15. Your first project asks you to learn too many techniques
Read the entire skills and construction list before choosing. A small project can still include fiddly joins, shaping and tiny details. Select a design with a manageable number of unfamiliar techniques, and practise those sections separately if needed. “Small” and “beginner” are not interchangeable labels.
For further amigurumi reading, see Clover’s beginner article, while continuing to follow the individual designer’s construction and safety guidance.
Reading and buying patterns
16. You mix US and UK terminology
Find the pattern’s stated terminology system before interpreting stitch names. US double crochet and UK double crochet are different stitches. Do not infer the system from currency, spelling or the designer’s location. Keep the CYC abbreviation and terminology comparison nearby, together with the pattern’s own key.
17. You assume every mismatch is your fault
Check your selected size, starting count and the full repeat before concluding that the pattern contains an error. If it still does not add up, look for an updated file or errata. Contact the designer with the exact row, expected count, actual count and a photograph. Avoid changing several later instructions to compensate for one unresolved discrepancy.
18. You rely on one attractive listing image
Compare the image with the description, materials and other available views. Buyer project photographs and a reachable designer can provide useful context. Unusual-looking imagery is a reason to investigate, not proof that a seller used AI or that a pattern is fraudulent. Avoid publicly accusing a creator based on appearance alone.
19. You buy without checking what is included
Confirm that you are buying a digital pattern rather than a finished item or kit. Check the language, format, terminology, sizes, materials and support. If a listing does not answer a question that matters to your purchase, ask before paying. Our pattern buying checklist helps you record these details.
Finishing and assembly
20. You cut the ends before choosing a finishing method
Keep enough yarn available to follow the pattern’s finishing instructions. The appropriate tail and securing method depend on the fibre and construction. Do not assume a short visible knot will behave like a properly worked finishing method. Where practical, practise the finish on a sample and check it after the intended care treatment.
21. You expect blocking to correct the stitch structure
Check the count and construction before trying to flatten the piece. Finishing cannot replace missing pattern steps or remove deliberate increases. Use only a treatment appropriate for the yarn and pattern; do not apply heat by habit. If the care label and your intended method seem inconsistent, ask the yarn maker before proceeding.
22. You choose a seam without checking the assembly instructions
Lay the pieces out, identify the sides and match the intended joining points before sewing. Keep temporary markers where alignment matters. The placement of the pieces and the seam method depend on the design, so there is no single right-sides or wrong-sides rule for every project.
23. You keep working after spotting an unresolved error
Pause and decide whether the issue affects structure, fit, a repeat or only your preferred appearance. Mark the location. If you choose to pull back, stop at a clearly identified place and secure the live loop when you pause. Leaving the decision until assembly can make it harder to see where the mismatch began.
Foundations, shaping and project habits
24. The foundation edge feels tighter than the fabric above
Check the starting count and foundation instructions before changing tools. If the count is right, compare a small sample with a more relaxed foundation or the alternative method the designer permits. Working into a different part of a chain can change the edge appearance, but it is not a universal cure for a tight foundation.
25. Your granny square cups or ruffles
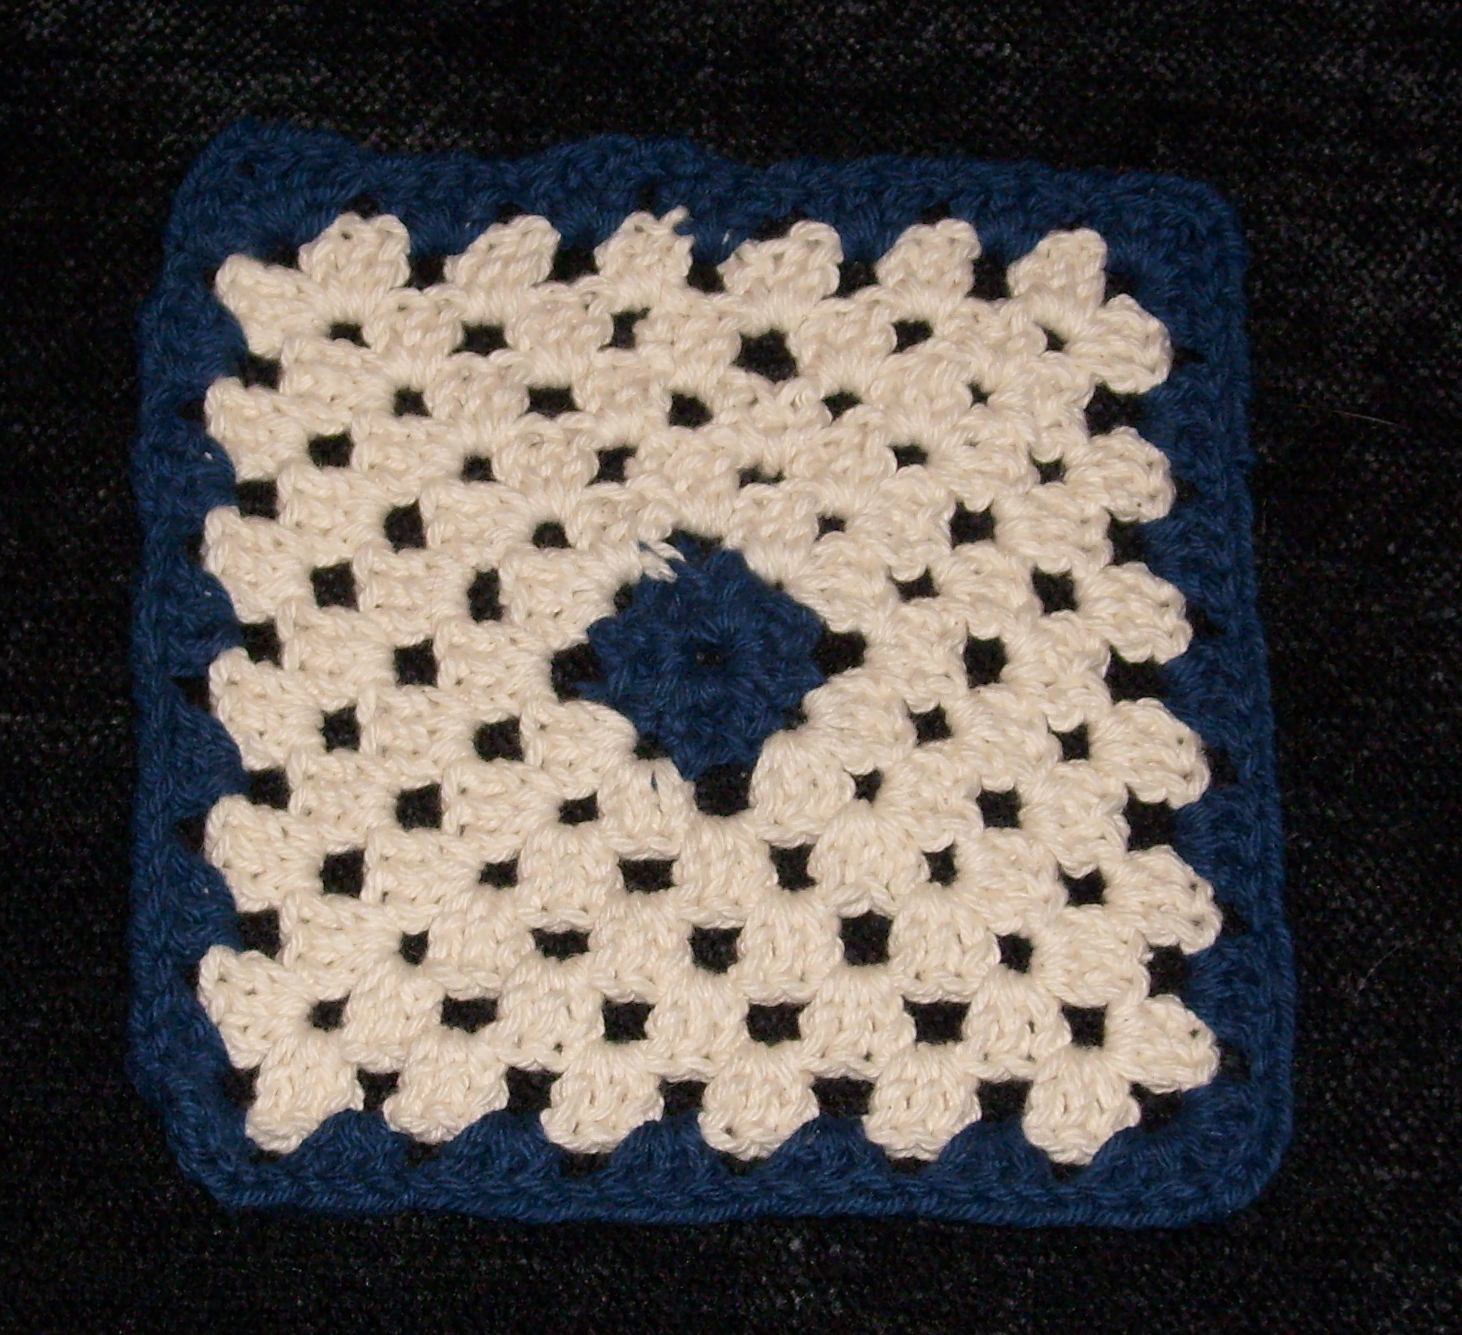

Compare the number and placement of stitches, corner groups and chain spaces with the pattern. Confirm that you have not substituted a different stitch through a terminology mix-up. Tension can matter, but do not change the hook before checking the structure. Some motifs also change shape as later rounds are added; consult the intended stage photographs.
26. You expect every single crochet fabric to look identical
Compare the yarn, working method and stitch instructions before judging the appearance. Yarn-over and yarn-under variations can change texture, and switching technique partway through can make a difference visible. Follow the chosen design and test a separate sample if you want to compare methods. A different-looking stitch is not automatically an error.
27. Decreases leave visible gaps
Check whether the pattern calls for an ordinary or invisible decrease, which loops it uses and where the shaping is placed. Follow that specific technique instead of replacing every decrease in every project. If stuffing is stretching the area, assess that too before changing the hook or rewriting the round.
28. You continue crocheting through pain
Stop rather than treating pain as a normal requirement of learning. This article does not diagnose symptoms or prescribe stretches. If discomfort persists, returns or worries you, seek advice from a qualified health professional. A tool change should not be presented as a guaranteed treatment.
29. You pull hard on tangled or splitting yarn
Pause and inspect the strand before forcing the next stitch. Work a knot loose carefully rather than tightening it further. Try a manageable practice length to see whether the difficulty comes from the yarn, hook or handling. Choose an unwinding method that works with the particular ball rather than assuming centre-pull is always better.
30. Your circle becomes a bowl or a ruffle
Compare every round with the pattern’s expected count and increase placement. A sequence such as 6, 12, 18 is one possible construction, not a formula for every stitch or yarn. Check the specified starting method and whether the piece is intended to stay flat at this stage. Avoid changing the increase rate until you know what the design is asking for.
31. You choose a project whose scale does not fit your plans
Consider the total size, repeated sections and finishing work as well as the skill label. A blanket can involve straightforward stitches and still require a large commitment. A smaller piece or modular project may be easier to fit into your schedule. Avoid relying on somebody else’s completion time as a promise of your own.
32. You rely only on a hook letter or number
Check the hook’s millimetre size and compare it with the pattern. Letter and number systems can cause confusion, and manufacturer labelling may differ. Record both the marked size and the actual hook used when consistency matters. Gauge remains the test for a project that specifies it.
33. You do not record changes
Keep a brief note with the yarn: pattern version, selected size, yarn details, hook, completed row or round, and any deliberate adjustments. Take a progress photograph if it helps you resume. This is particularly useful for matching a second sleeve, a pair of items or motifs made over several sessions.
34. You estimate the finished width from the chain alone
Use the pattern’s gauge and stitch multiple when planning width. A starting chain and the fabric worked into it may measure differently. Check a worked sample before committing to a large project, and include any edge stitches or repeats in the calculation. If you resize a design, record the new count and check how later shaping depends on it.
A short project reset
- Confirm the pattern version, size and terminology.
- Count the current row or round and find the first mismatch.
- Compare the yarn, hook and gauge with the instructions.
- Check edge, join, shaping and finishing notes.
- Change one variable at a time on a sample where possible.
- Ask the designer when the intended instruction remains unclear.
You do not need to solve every possible problem before your next project. Start with the symptom you can see, make one check, and keep a note of what you find. For help evaluating a new pattern, read our buying guide and selection policy.
Common crochet mistakes: FAQ
Why is my crochet getting wider?
Extra stitches are the usual cause, often from working into the turning chain or into the same stitch twice at the edges. Count each row and compare it with the pattern.
Why is my crochet curling?
Curling can come from tight tension, a starting chain that is tighter than the rows, or, in rounds, too few increases. Too many increases make a circle ruffle instead.
How do I fix uneven crochet tension?
Hold the yarn the same way every time, relax your grip and make a gauge swatch. If your swatch does not match, change hook size rather than pulling the yarn tighter.
Do I have to start over after a crochet mistake?
Not always. Find the first row where the stitch count or shape went wrong and pull back to that row, so you keep the work you did correctly.
Leave a Reply